


Mastering Road Trip Photography: A Comprehensive Guide
Introduction to Road Trip Photography
Road trip photography is a thrilling fusion of wanderlust and artistry that turns highways into galleries and rest stops into studios. Whether you’re capturing the sunrise over jagged peaks or the neon glow of a desert diner, this comprehensive guide will equip you with the planning strategies, shooting techniques, and post–processing workflows you need to elevate your travel portfolio. Along the way, you’ll find links to authoritative resources—like the National Park Service and the National Weather Service—to help you plan safer, more inspiring adventures.
Planning Your Ultimate Itinerary
Researching Scenic Routes
Great road trip photography begins well before you fire up the engine. Start by charting a route through iconic corridors—think California’s Pacific Coast Highway, Utah’s Scenic Byway 12, or the Blue Ridge Parkway. Government portals like the NPS maps page let you preview park boundaries and trailheads, while tools such as Google Earth and Flickr geotags reveal potential vantage points. Incorporate stops at lesser-known overlooks to avoid crowds and uncover unique compositions.
Balancing Time Management and Flexibility
A flexible schedule is critical for capturing dramatic lighting and spontaneous discoveries. Allocate buffer hours around sunrise and sunset to scout locations and adjust to unexpected weather changes—check forecasts on weather.gov. Build in contingency days for adverse conditions or creative detours. By blending detailed planning with room for the unexpected, your road trip photography sessions will remain both structured and adventurous.
Essential Gear for the Road
Choosing Your Camera System and Lenses
When packing for road trip photography, prioritize versatility and durability. Mirrorless cameras such as the Sony α7 series balance image quality with reduced weight, while DSLR bodies like the Canon EOS 5D Mark IV offer rugged reliability. Opt for a standard zoom (24–70 mm) for everyday scenes and a wide-angle lens (16–35 mm) to dramatize vast landscapes. A telephoto prime (70–200 mm) can isolate distant features. Keep sensor-cleaning tools on hand to ward off dust from desert winds or coastal mist.
Tripods, Filters, and Accessories
A sturdy yet portable tripod is non-negotiable for long exposures and low-light compositions. Carbon-fiber legs keep weight down, while a ball head facilitates rapid framing. ND filters (e.g., 6-stop and 10-stop) enable silky-water and cloud-motion effects. A circular polarizer reduces glare on water and intensifies skies. Store backup batteries and memory cards in a weatherproof case. For power on the go, consider a compact power bank compatible with your camera’s USB charging port.
Mastering Composition on the Move
Leading Lines and Foreground Elements
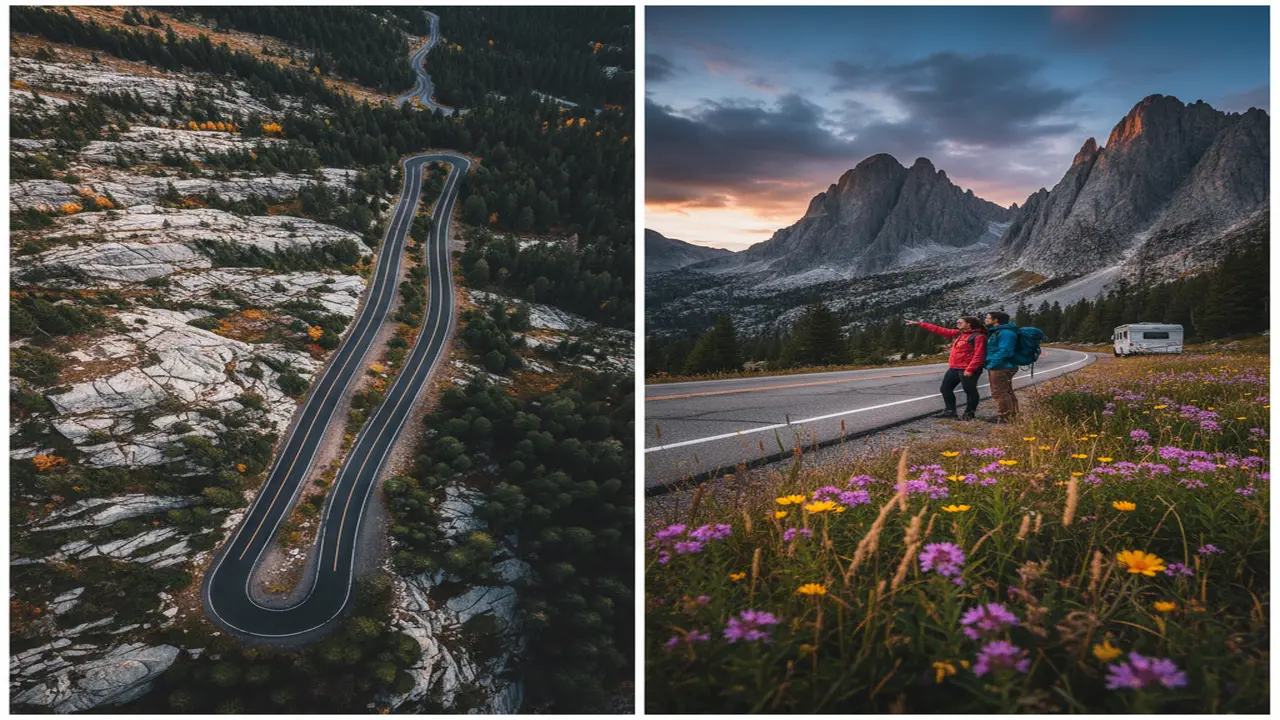
Transform your snapshots into compelling images by guiding the viewer’s eye through the frame. Use highways, railroads, or rivers as leading lines that converge toward a focal point. Incorporate foreground interest—like wildflowers, rocks, or roadside artifacts—to add depth and scale. In road trip photography, these foreground details tether dramatic backdrops to viewers’ imaginations, making scenes more immersive.
Experimenting with Perspectives
Don’t stay grounded at eye level. Climb small hills, scramble onto guardrails (where safe and permitted), or set your camera low to the ground for dynamic angles. A bird’s-eye view from a drone can reimagine familiar roads as abstract ribbons through the terrain. Always follow local regulations and FAA guidelines when flying drones to keep your adventures lawful and ethical.
Lighting Techniques: Golden and Blue Hour
Harnessing Golden Hour Magic
The golden hour—roughly 30 minutes after sunrise and before sunset—paints landscapes in warm hues, softening shadows and accentuating textures. Plan to arrive early to select your vantage and compose carefully. Use an app like PhotoPills or consult US Naval Observatory twilight tables to pinpoint exact times. Golden hour scenarios are a hallmark of professional road trip photography.
Exploring Blue Hour and Nightscapes
Don’t pack up at dusk. The blue hour—just after sunset and before sunrise—imparts an ethereal, cool light that complements cityscapes and illuminated roads. Capture car light trails on a winding mountain pass by dialing your shutter speed to 10–30 seconds. Combine multiple exposures or use in-camera long-exposure modes to balance ambient light with foreground detail.
Creating Motion with Long Exposures
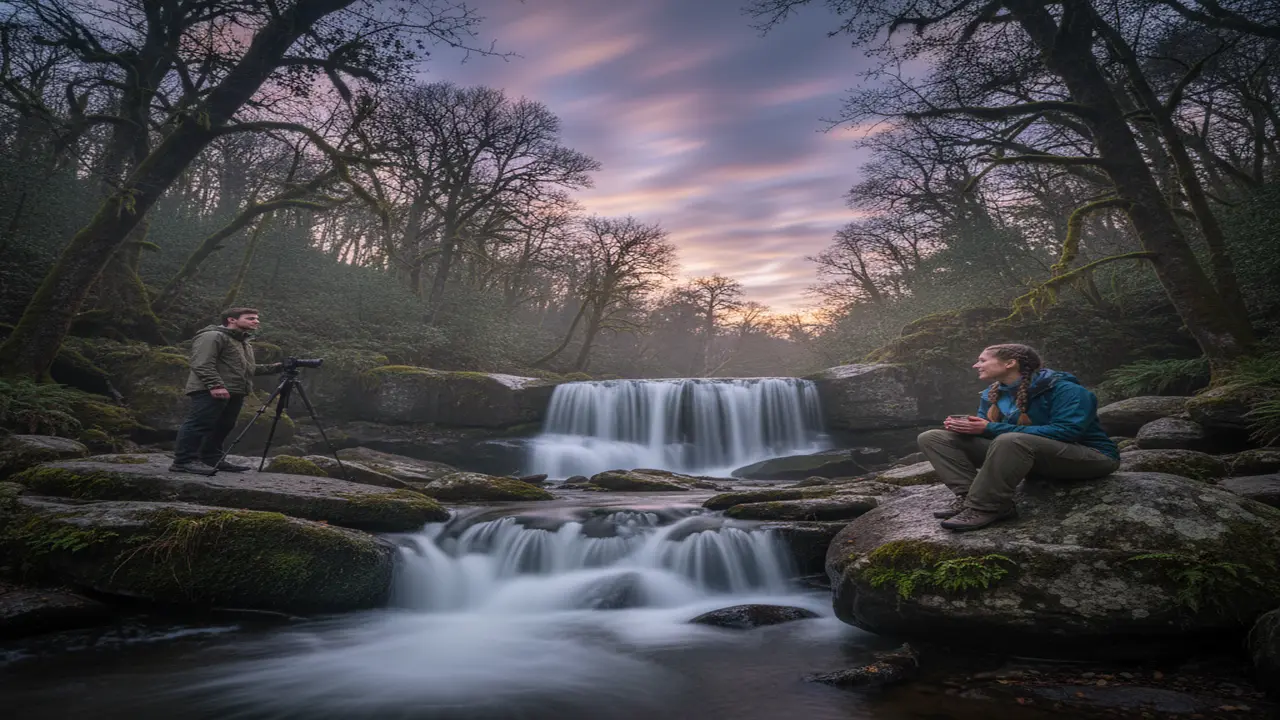
Motion blur adds dynamism to waterfalls, rushing streams, and drifting clouds. Switch to manual mode, set your ISO to the lowest native setting, and use ND filters to achieve shutter speeds between 1 and 30 seconds. Lock your tripod and trigger the shutter with a cable release or wireless remote to avoid camera shake. This blending of motion and stasis is a powerful storytelling device in road trip photography.
Environmental Portraits on the Road
Infuse your landscape work with human connection by photographing companions, locals, or fellow travelers within their environment. Position your subject gazing toward an open road or atop a scenic overlook to evoke narrative depth. Utilize a wide aperture (f/2.8–f/4) to gently separate your model from the background, while retaining enough context that viewers can sense the surrounding place.
Safety, Etiquette, and Leave No Trace
Responsible road trip photography means respecting both people and nature. Stay on marked trails to protect fragile ecosystems. Seek permission before shooting on private land. Adhere to Leave No Trace principles promoted by the National Park Service. Carry a first-aid kit, flashlight, and emergency supplies. Always inform someone of your travel plans for added security.
Editing Workflow: From Raw Files to Radiant Output
An efficient post–processing routine turns raw captures into polished works of art. Begin in Adobe Lightroom or Capture One to correct exposure, white balance, and lens distortions. Employ graduated filters to balance bright skies with dark foregrounds. For advanced edits, use Photoshop’s layer masks and dodge-and-burn techniques to refine highlights and shadows. Reference academic studies on color science—such as those published by the Society for Imaging Science and Technology—to maintain natural color fidelity. Finally, export JPEGs at high quality for web use or prepare TIFFs for large-format prints.
Sharing and Monetizing Your Work
Once your images are refined, showcase them on a dedicated portfolio site—optimize filenames and alt text with keywords like “road-trip-photography-pacific-coast-highway.jpg” for SEO. Engage photography communities on Instagram, 500px, and forums, sharing behind-the-scenes insights to build rapport. Explore print-on-demand services or license images via stock agencies such as Shutterstock and Getty Images. With consistent branding and ethical pricing, your road trip photography can become a viable income stream.
Conclusion: Fuel Your Next Adventure
Mastering road trip photography is an ongoing journey that blends meticulous preparation with spontaneous creativity. By planning your itinerary, selecting versatile gear, honing composition and lighting techniques, and committing to ethical practices, you will craft compelling imagery that resonates with viewers and inspires future adventures. So fuel up your vehicle, charge your batteries, and set your GPS for the horizon—remarkable landscapes and unforgettable stories await at every turn.


